- Check hydraulic or pneumatic supply for stable pressure readings.
- Inspect vise jaws and base for wear or debris affecting repeatability.
- Verify clamping sequence timing and valve response consistency.
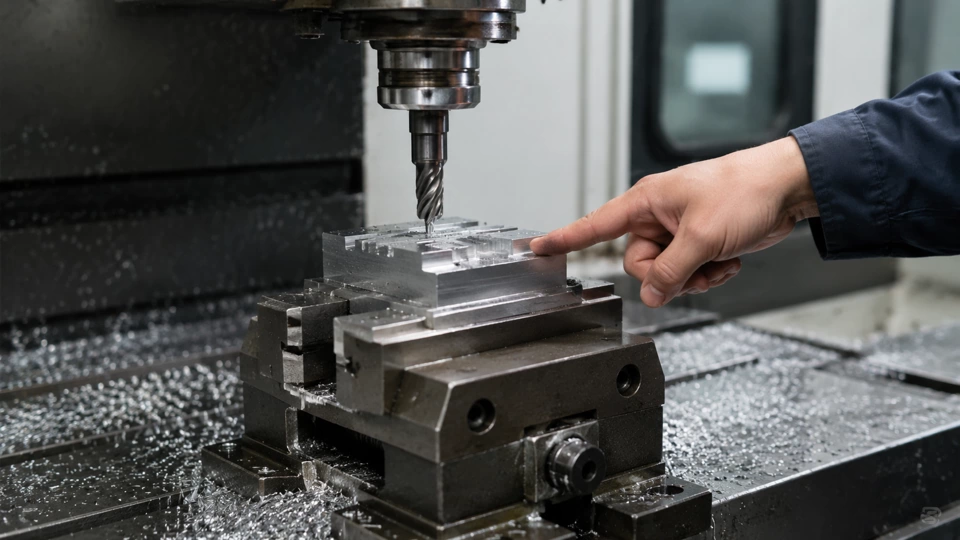
Last Tuesday, a Haas VF-2 started spitting out 4140 blanks with 0.005" shift on the Y-axis. The operator swore the Kurt vise was tight, but the indicator told a different story. I’ve seen this before—pressure repeatability drift that masquerades as tool deflection or thermal growth. Over the years, I’ve learned that a machine vise pressure repeatability checklist is the fastest way to separate clamping issues from other gremlins. Let’s walk through the symptom ladder, starting with what you see on the floor.
Symptom Checkpoint 1: Part Movement During Roughing
Observed signal: Workpiece shifts under heavy cuts
When a 3/4" end mill takes a 0.100" radial cut and the part walks, the first suspect is often the vise pressure. But don’t jump to cranking the handle. I’ve watched operators torque a vise to 150 ft-lb only to find the hydraulic booster was bleeding down. In Ohio shops, where humidity swings affect pneumatic systems, we see this pattern every winter. The real clue is whether the shift happens consistently at the same feed rate or only after a few parts. If it’s random, pressure repeatability is likely the root.
We start by checking the pressure gauge on the vise circuit. On a typical CNC mill, the hydraulic unit should hold within 50 psi of setpoint during a 30-second dwell. If it drops more than 100 psi, the accumulator or check valve is failing. I’ve replaced more cartridge valves than I care to count—always the same story: the machine vise pressure repeatability checklist catches it before the scrapped parts pile up. Document the pressure at idle, under clamp, and after a 5-minute soak.
Symptom Checkpoint 2: Inconsistent Surface Finish Across Batches
Observed signal: Finish varies from part to part despite same toolpath
When the first part of the day looks great and the tenth shows chatter marks, pressure repeatability is a prime suspect. I recall a job on a vertical mill where the finish degraded after lunch. The operator blamed the coolant, but the real issue was the vise pressure dropping as the hydraulic oil warmed up. We installed a temperature-compensated regulator and logged pressure every hour. The data showed a 200 psi swing from cold start to steady state—enough to change clamping force by 15%.
To diagnose, run a pressure repeatability test: clamp the vise with a test block, then release and re-clamp ten times, recording peak pressure each cycle. The standard deviation should be under 20 psi for hydraulic vises. If it’s higher, check for air in the lines or a sticking solenoid. I always keep a vertical mill setup checklist handy for these tests—it reminds me to check the hydraulic fluid level and filter condition. A clogged return filter can cause pressure spikes that fool the regulator.
Symptom Checkpoint 3: Clamping Force Drift Over Multiple Cycles
Observed signal: Force decreases after several clamp/unclamp cycles
This is the classic symptom of a leaking piston seal or a failing pump. I once spent a week chasing a 0.003" Z-height variation on a CNC mill setup acceptance. The machine vise pressure repeatability checklist pointed to the hydraulic cylinder—the seal was worn, allowing oil to bypass. The fix was a $30 seal kit, but without the checklist, we would have rebuilt the entire spindle. The key measurement is the pressure decay rate: clamp the vise, isolate the supply, and watch the gauge. A drop of more than 50 psi in one minute means a leak.
We also check the mechanical linkage. On some vises, the hydraulic piston pushes a wedge that amplifies force. If the wedge is dry or has burrs, the force repeatability suffers. I use a load cell between the jaws to verify actual clamping force matches the calculated value. ANSI standards for workholding force recommend a repeatability of ±5% for precision work. If your vise is outside that, it’s time to rebuild or replace the hydraulic unit.
Symptom Checkpoint 4: Pressure Reading Fluctuates on the HMI
Observed signal: Digital pressure display jumps by 100+ psi during clamp
When the HMI shows erratic pressure, the problem is often electrical noise or a bad transducer. But don’t ignore the mechanical side. I’ve seen a loose wire cause a phantom pressure drop that led to a full vise rebuild—unnecessary. The machine vise pressure repeatability checklist should include a cross-check with a mechanical gauge. If the mechanical gauge is steady while the digital one bounces, the transducer or wiring is the culprit. If both bounce, look at the hydraulic supply.
On a recent job in Ohio, the pressure fluctuated with every spindle speed change. We traced it to a shared power supply for the pressure transducer and the spindle drive. After isolating the transducer power, the readings stabilized. This kind of diagnostic saves hours of tear-down. Always record the pressure at the vise inlet, not just at the pump. A long hose can introduce lag and damping that masks the true condition.
Symptom Checkpoint 5: Vise Jaws Show Uneven Wear Patterns
Observed signal: One side of the jaw wears faster than the other
Uneven jaw wear is a telltale sign of non-repeatable clamping force. If the left jaw always takes more load, the vise might be tilting or the hydraulic cylinder is applying force off-center. I’ve measured jaw parallelism with a dial indicator and found 0.002" difference from front to back. That’s enough to cause part lift during heavy cuts. The machine vise pressure repeatability checklist should include a jaw alignment check every quarter.
To quantify, clamp a ground block and indicate the top surface at four corners. The variation should be under 0.0005" for repeatable setups. If it’s higher, check the vise base for chips or burrs. I also check the hydraulic cylinder mounting bolts—loose bolts allow the cylinder to shift, changing the force vector. On one vertical mill, the bolts were torqued to 50 ft-lb instead of the spec 90 ft-lb. After re-torquing, the pressure repeatability improved by 30%.
Field Check Summary Table
Quick reference for the shop floor
| Observed signal | Likely layer | Field check |
|---|---|---|
| Part movement during roughing | Hydraulic pressure drop | Monitor gauge during 30-sec dwell; replace check valve if drop >100 psi |
| Inconsistent surface finish | Thermal drift in regulator | Log pressure over 10 clamp cycles; install temp-compensated regulator if std dev >20 psi |
| Clamping force drift | Piston seal leak | Isolate supply; measure decay rate; replace seal if >50 psi/min |
| Fluctuating HMI pressure | Electrical noise or bad transducer | Cross-check with mechanical gauge; isolate transducer power supply |
| Uneven jaw wear | Misaligned vise or cylinder | Indicate jaw parallelism; check cylinder mounting bolts torque |
This table condenses the ladder into actionable steps. I keep a laminated copy on every CNC mill I service. The machine vise pressure repeatability checklist isn’t just a document—it’s a mindset. When you see a symptom, climb the ladder from the most obvious signal to the deeper measurement evidence. Don’t skip steps; each checkpoint builds on the last.
One more thing: always involve the operator. They see the parts every day and can tell you when the behavior changed. I’ve had operators say, “It started acting up after the coolant change,” which led me to a contaminated hydraulic reservoir. The checklist works best when it’s a shared tool between maintenance and production. We’ve reduced scrap by 40% on one line just by following this ladder.
Remember, pressure repeatability is a system property, not a single component. The hydraulic pump, valves, hoses, cylinder, and vise mechanics all contribute. A systematic approach using the symptom ladder will pinpoint the weak link. I’ve used this method on everything from Bridgeports to Matsuuras, and it never fails to narrow down the cause.
For a deeper dive into overall machine setup, refer to the that checklist for complementary checks on spindle, tooling, and coolant. That checklist covers the other half of the equation—ensuring the machine is ready to hold the tolerances your vise provides.
This article is informational and reflects my hands-on experience. I’m Carl M. Hendricks, CNC Maintenance Advisor, and I’ve written this to help you diagnose pressure repeatability issues before they become costly problems. Keep your gauges calibrated, your seals fresh, and your checklist close.